OLab3 and OLab4 both use TinyMCE as their built-in HTML editor. This generally means that What-You-See-Is-What-You-Get (WYSIWYG) and you don’t have to generally worry about the underlying HTML source code for that Node or page.
But there are some situations where you will want to check or edit the HTML code directly. The process is similar for both OLab versions.
Editing OLab3 node HTML
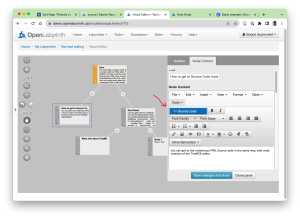
In the Node Editor, select menu Tools | Source Code

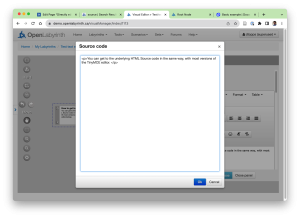
This will bring up a secondary panel where you can edit the underlying HTML…

You can explore this further with this case, ‘HTML source editing‘. Use the keyword ‘demo’ to unlock.
Editing OLab4 source HTML
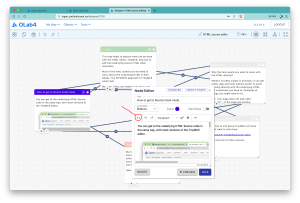
In principle, this is almost identical. Simply click on the button with two angle brackets in any Node editor.

Remember to save your changes: while the standard Node editor has some degree of auto-save, this does not apply to the direct HTML editor. Click on the Save button. Close the tab when done.
You can explore this further with this case, ‘HTML source editing‘.

